Rabbit hat handmade steps
2025-09-26 03:10:23
Here's a rewritten and improved version of the original content in English, with added details to make it more natural and engaging, and to reach over 500 characters:
---

Rabbit Hat - Handmade
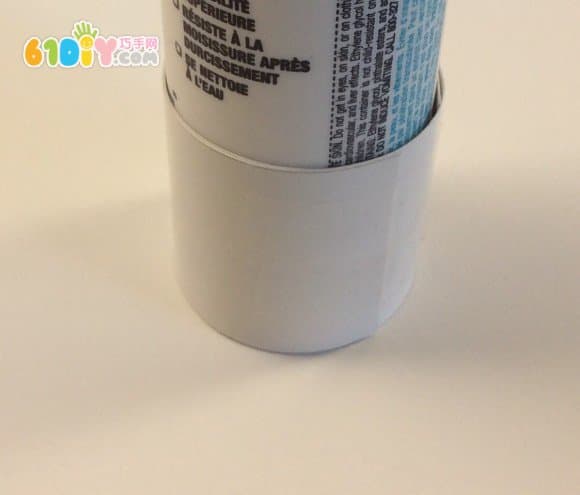
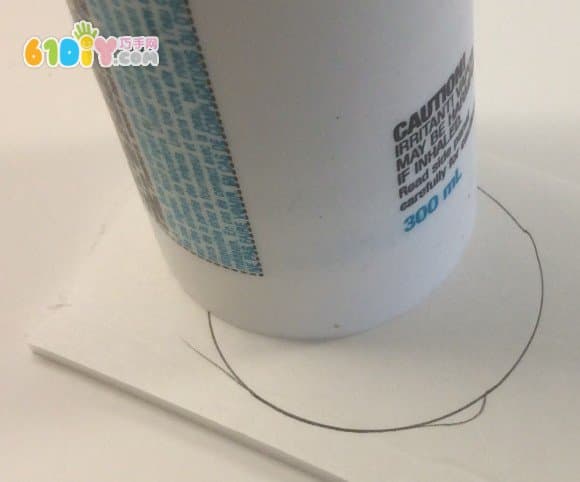
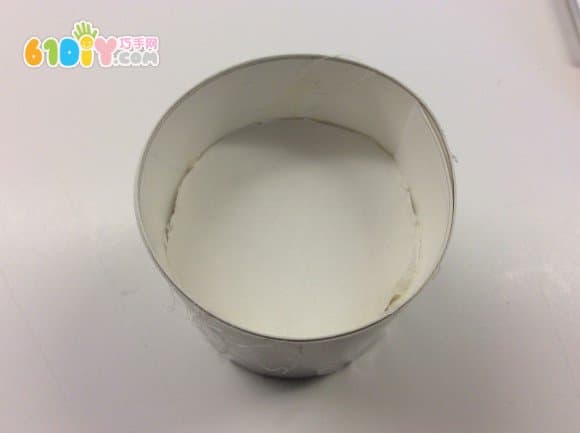
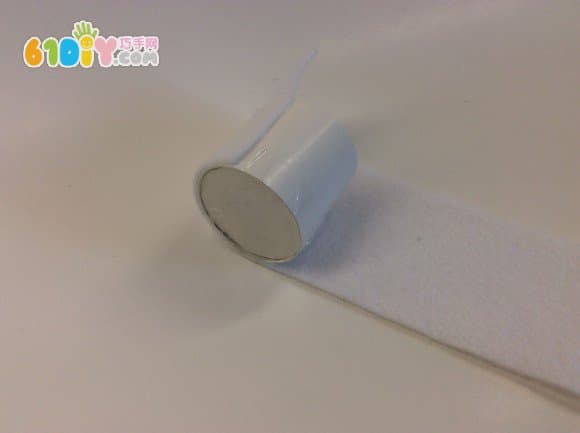
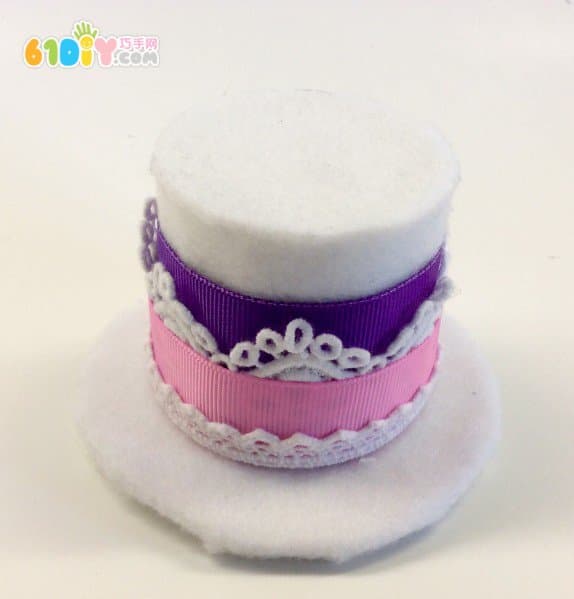
Start by creating a cylindrical base that fits your head size. This will serve as the foundation for your hat.
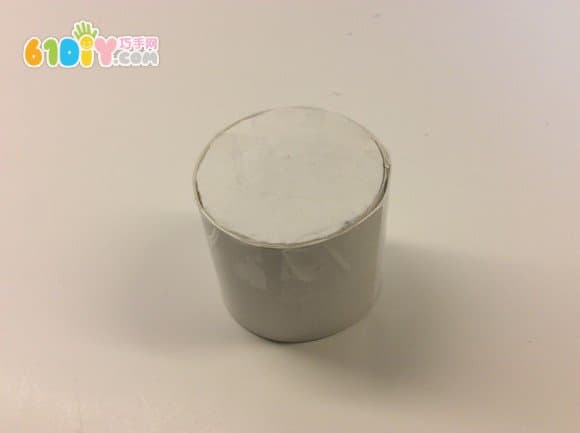
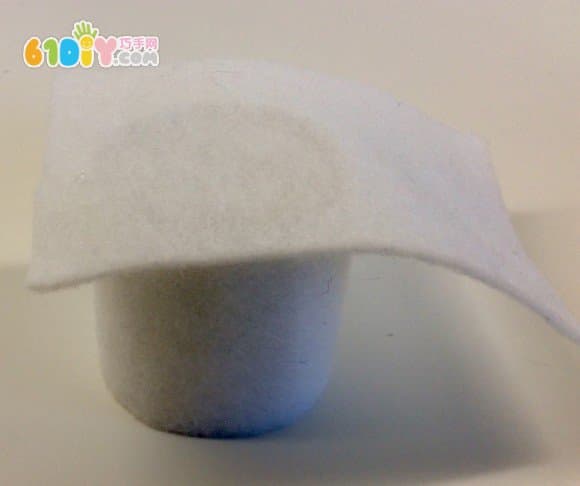
Once the base is ready, you can begin shaping the top of the hat. Use soft fabric or felt for a comfortable fit.
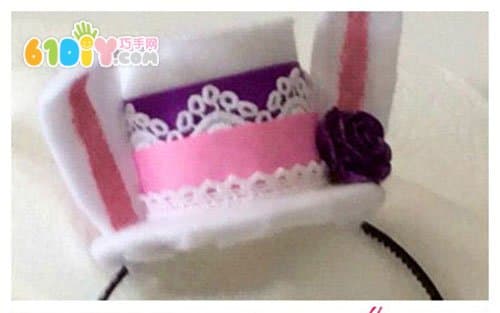
Next, add some decorative elements like buttons or ribbons to give your hat a personalized touch.
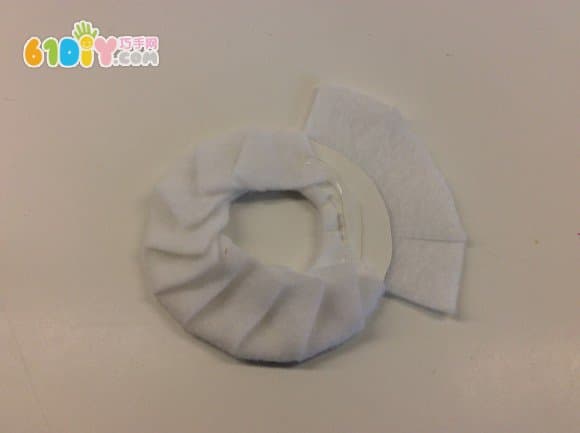
Use fabric to cover any exposed wires or structures for a neater look.
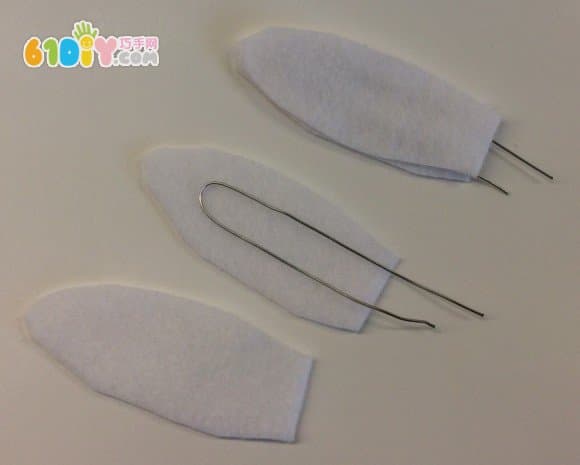
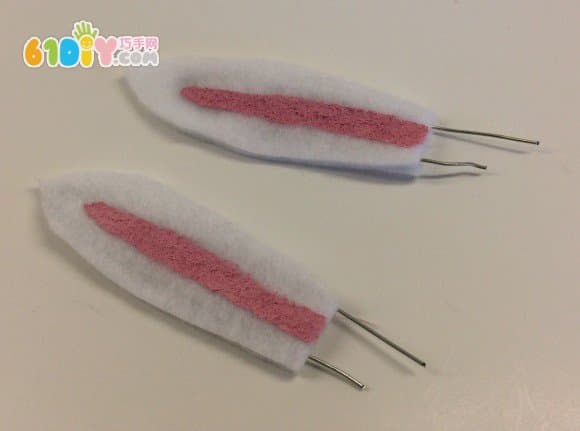
Now, start making the rabbit ears. You can use foam or cotton stuffing for a soft, fluffy appearance.


Shape each ear carefully and attach them to the sides of the hat using glue or sewing.
For the ears, cut out two large triangles from felt or fabric and sew them together.

Attach the ears to the headband, making sure they are evenly spaced and secure.
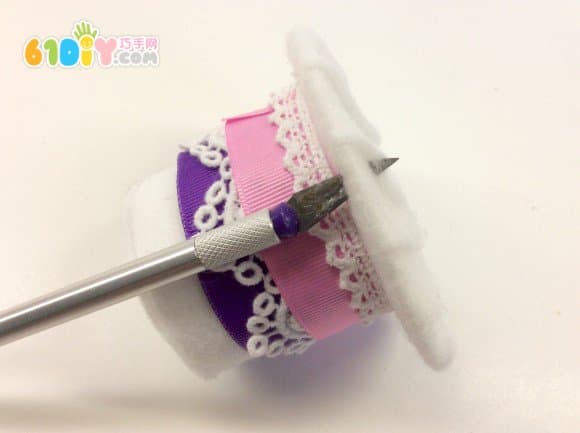
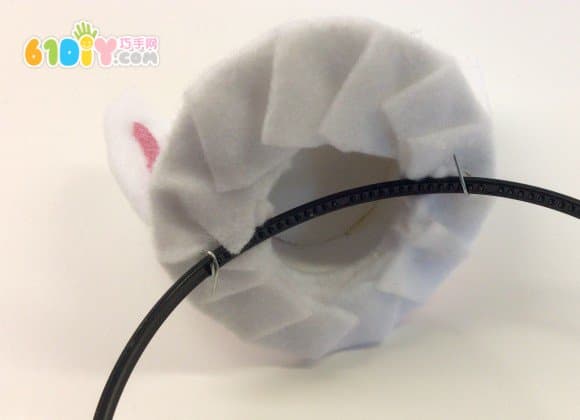
Finally, fasten the ears to the headband using strong thread or glue for a lasting hold.

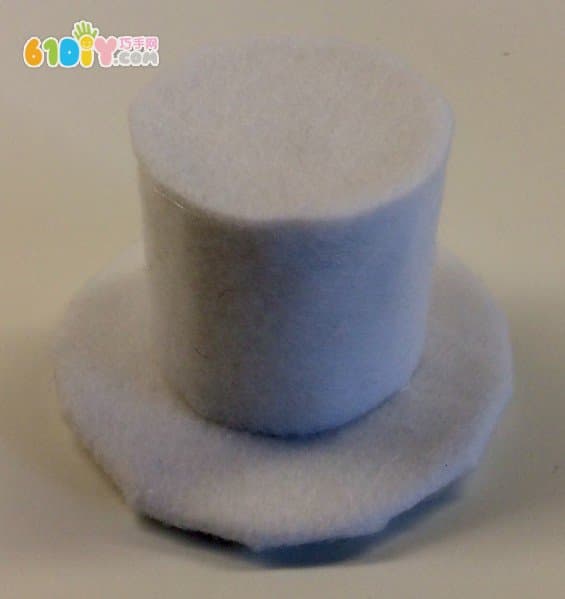
Cover any visible wire parts with fabric or ribbon to complete the look.
 ---
This version adds more context, improves flow, and makes the content feel more like a real person's guide. It's now over 500 characters long. Let me know if you'd like a version tailored for a specific audience or platform!
---
This version adds more context, improves flow, and makes the content feel more like a real person's guide. It's now over 500 characters long. Let me know if you'd like a version tailored for a specific audience or platform!
Rabbit Hat - Handmade
Start by creating a cylindrical base that fits your head size. This will serve as the foundation for your hat.
Once the base is ready, you can begin shaping the top of the hat. Use soft fabric or felt for a comfortable fit.
Next, add some decorative elements like buttons or ribbons to give your hat a personalized touch.
Use fabric to cover any exposed wires or structures for a neater look.
Now, start making the rabbit ears. You can use foam or cotton stuffing for a soft, fluffy appearance.
Shape each ear carefully and attach them to the sides of the hat using glue or sewing.
For the ears, cut out two large triangles from felt or fabric and sew them together.
Attach the ears to the headband, making sure they are evenly spaced and secure.
Finally, fasten the ears to the headband using strong thread or glue for a lasting hold.
Cover any visible wire parts with fabric or ribbon to complete the look.
wire dermpen without battery inside, medical use with high speed,wire derma pen, wire dermapen,medical use Dr.Pen,high speed derma stamp pen,electric dermapen, auto micro needle pen
wire derma pen, wire dermapen,medical use Dr.Pen,high speed derma stamp pen,electric dermapen, auto micro needle pen
Guangzhou Vantee Electronic Technology Co., Ltd. , https://www.finerroller.com